As you may or may not realized (by the title of this post) I started a new lab today! And it is all about pies and tarts. Who doesn't love pie???? SOOO many varieties so little time.
I spoke about loosing my ambition in my last post, but that all seems to be going out the window in this class or at least mostly. (The beautiful weather still beckoned me and summer is nearing.) My chef, is pretty awesome so far. He's super chill and is all about the product and nothing more. He's industry relevant and doesn't sweat the small stuff.
Speaking of sweat. 85 degrees in Providence today! What happened to "spring"?! It was so hot outside, and the sun was beating in through the nice glass windows of the new building all day, not to mention the air conditioning hadn't kicked in yet. Plus those deck ovens retain a LOT of heat. Our class room was at leassssst 85 degrees, probably more. During lecture, we were all dripping sweat. So needless to say, as soon as I got done with class, I took a cold shower!
Pie Dough
We made "short flake" pie dough, which is a very standard dough. We used butter because my chef "doesn't believe in trans fat free". This dough is a 3-2-1 dough. Three parts flour (pastry), two parts fat (butter in this case), one part liquid(did you know you can use vodka?), and a few other pinches of this and that (sugar, salt, Dry milk solids).
First, sift flour. Add sugar and chop up cold butter into small chunks. Using your bench scraper/ hands (lightly) cut the butter into the flour to resemble sand.
Cutting in the butter
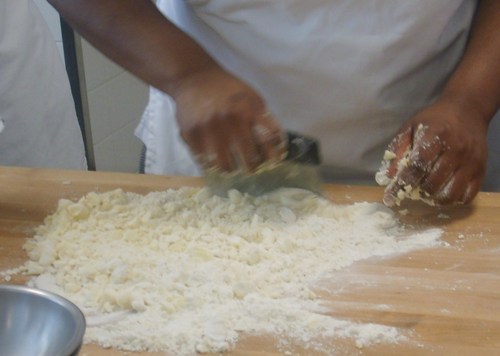
Once it resembles sand, add your salt, water and DMS (dissolved in water) and bring together until just combined (do not over mix!) Scale out into 8 oz discs and place in fridge (or if using shortly after making freezer)
Once chilled, dust the table with bread flour and work the dough a little in your hands and roll out until an inch or two past the size of an unside down pie plate.
Fold the dough in quarters and place the point into the middle of the pie plate. And the open up, pressing the dough up against the sides.
Panning up the dough
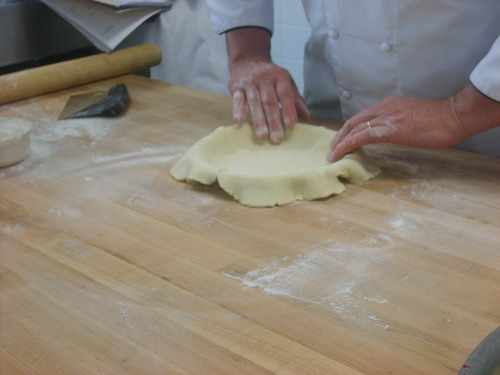
To trim the edges of the dough, place another pie plate on top, making sure the dough is still floured pretty well. Squeeze lightly and trim the excess dough all the way around.
Trimming excess dough
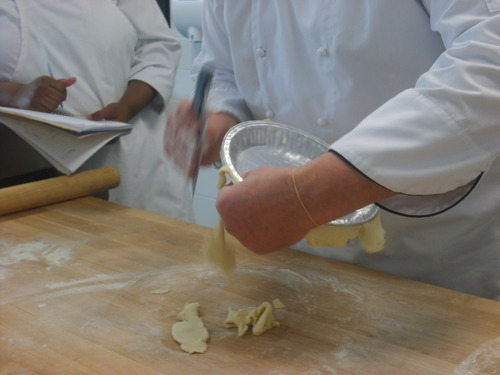
Now your dough is ready to be filled.
Dutch Apple Pie
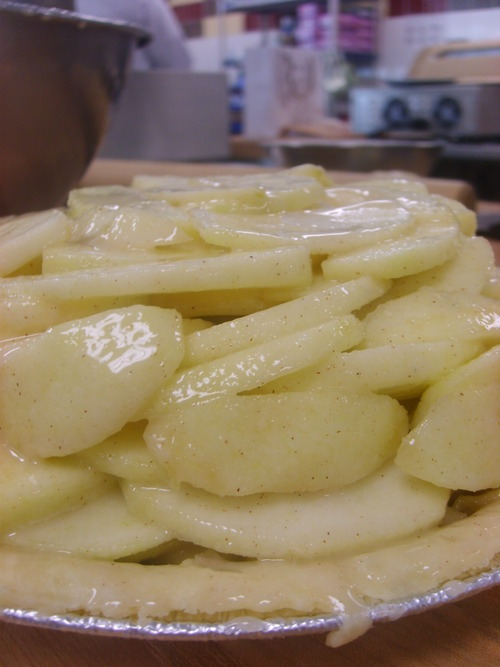
To begin, there are eight apples in this pie and all are peeled and sliced to about a 1/4th of an inch. (Keep in lemony water if not used right away to prevent browning and drain/dry before using) Then toss in with some cinnamon sugar, as much as desired really. Then add some flour (cake if you have it) just to coat and absorb some of the water and juices.
Pile ALL over these apples into the pie, strategically placing them is your best bet. Treat it like a puzzle (tetris if you will).
Piled up Apples
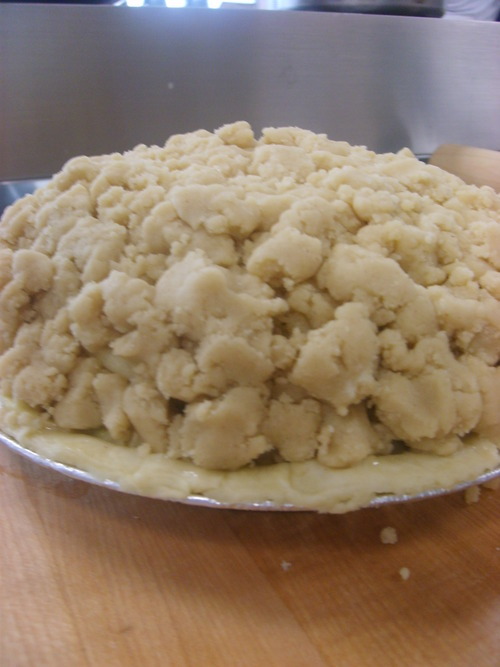
To finish off this pie, a topping of butter, brown sugar, cinnamon and flour is placed on top (streusel topping).
Streusel Topping
Because of the heat, we didn't bake our pies today. So instead we made the cherry pie filling for tomorrow.
Cherry Filling
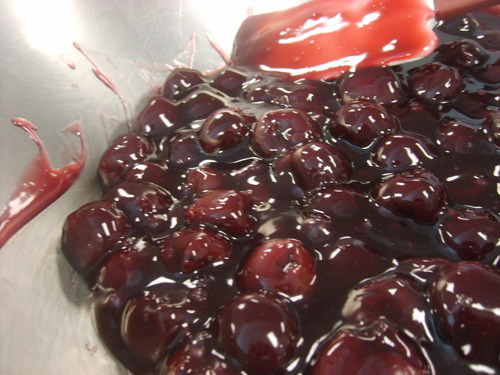
We used canned cherries. We drained the cherries very well and reserved the juice. Take 3/4 of your cherry juice, sugar and bring to a boil. Meanwhile, create a slurry with the remaining juice, cornstarch and lemon juice. Whisk into the hot juice and stir constantly until the opaque color dissipates and it becomes more clear looking (stir until the foam goes away). Once this happens, fold in your canned cherries and cool
Finished Cherry Filling
if you feel like you need the extra practice, my apartment is always open for you to come by and make some of that dutch apple pie ;)
ReplyDelete